

The quest for new challenges and fresh lines pushes us into ever more remote and consequential terrain.
While this amps the experience it also comes with an additional commitment to ride responsibly. An important tool in your avalanche safety toolkit, snow stability tests can help you establish whether a snowpack is stable enough to ride or hell-bent for a slide. Combined with other indicators such as slope aspect & angle, temperature, altitude, the weather forecast and avalanche bulletin, snow stability tests should be a fixed feature of your pre-drop routine.
Conducting a snow stability test is relatively simple but knowing where to do it is a little more complex. In fact, avalanche.org conclude that it’s an “art that is hard to describe”. This could be why so many riders skip the test altogether, but you really shouldn’t. The snow stability test is often the final piece of information in your risk assessment, crucial for making a go/no-go decision.
Where: You need to choose terrain that is representative of the line you want to ride in terms of aspect, angle, altitude and location, but which won’t kill you if it does slide. Don’t conduct your test in the middle of the slope you’re concerned about, conduct it in an area that reflects the line you’re thinking of riding.
Avoid:
These sites are all likely to give unrepresentative results.
Bear in mind: Slides tend to occur below rather than on ridgelines and convexity in the slope often creates the point of tension where a slide is most likely to occur. These are the areas where you want to site your snow stability test if you can safely access them. Remember Lore #5 ‘Look After Your Mountains’
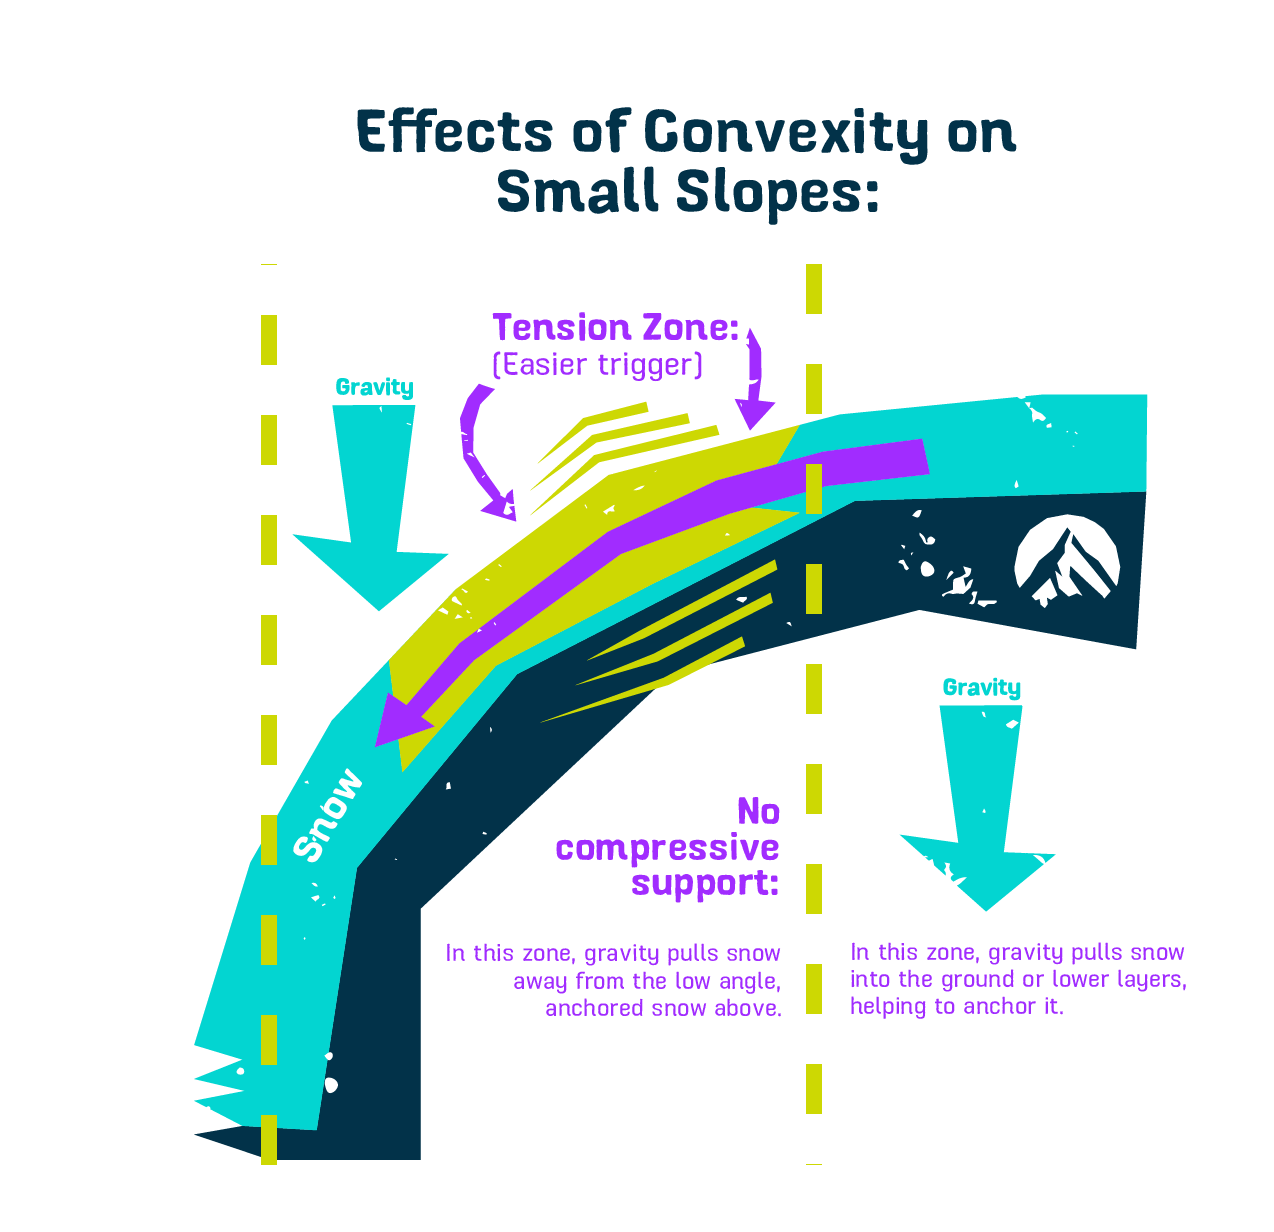
Remember: Your presence on a slope can trigger a slide on the way up as well as the way down. If you’re planning to ascend and descend by the same route, then this can work in your favour and it should be possible to conduct a series of snow stability tests as you ascend. You should also get a good feel for the slope simply by observing your presence on it before things get too extreme.
However, it’s often the case that your route in and out are not the same and it’s not possible to conduct a stability test at the drop-in. In these cases, try to identify a representative site to conduct your test. It’s also a good idea to apply Bruce Tremper’s Commandment #6 “Thou shalt start small and work your way up.” Be mindful that if you’ve exposed instability on lesser slopes then the right decision is to consider the Heuristic Traps and leave your main objective for another day.
Although you can never be 100% sure if an avalanche-prone slope is going to go, you will become better qualified to make these decisions as you become more experienced, so stay humble and keep learning. If you’re feeling daunted, don’t be afraid to change your mind – play it safe and there will be another day to stomp that line.
Probe
Once you’ve decided on the location for your stability test it’s time to get out your shovel and probe. Use your probe to find a spot with average snow depth where there are no hidden obstacles. At the Republic, we expect everyone in our crew to choose a spot and dig a pit. Snow can vary quite a bit from place to place, and this way we get lots of feedback from across the slope. Multiple pits deliver more data and a safer ride.
Dig
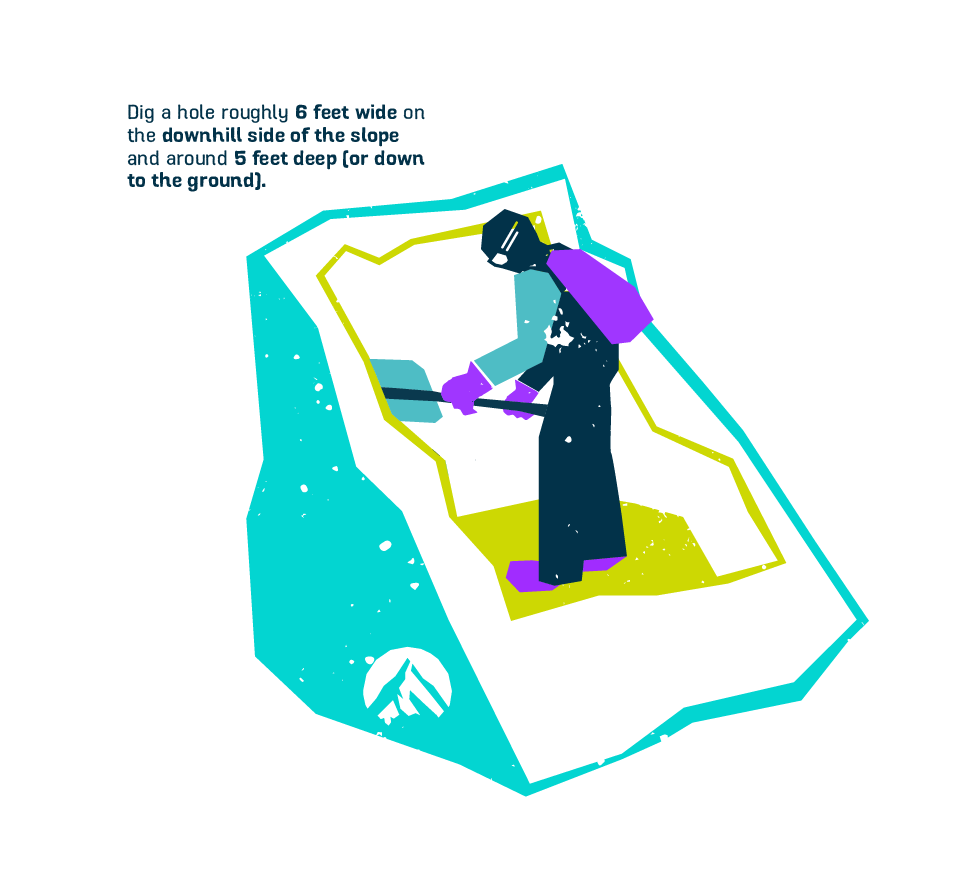
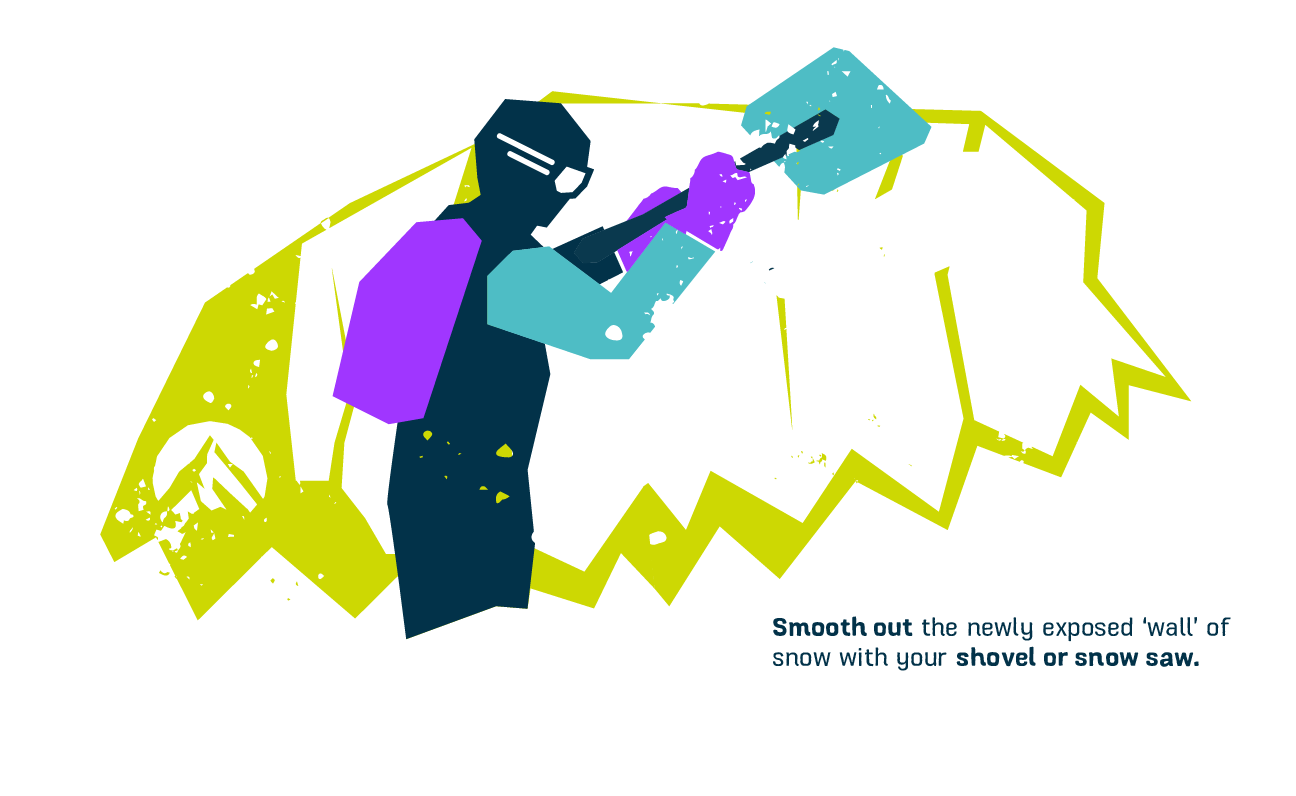
Once you’ve found a suitable spot with your probe, get going with your shovel. You should already have an idea of what’s going on within the snowpack from the avalanche bulletin, so unless you’re specifically concerned about a deep layer, there’s no need to dig lower than about 1.5 metres. Your pit is actually a trench that separates the snowpack on the uphill side from the snowpack on the downhill side. It doesn’t need to be especially pretty but you do need room to move around inside it and the pit wall on the uphill side – where you will be conducting your test – must be smooth and vertical.
Observe
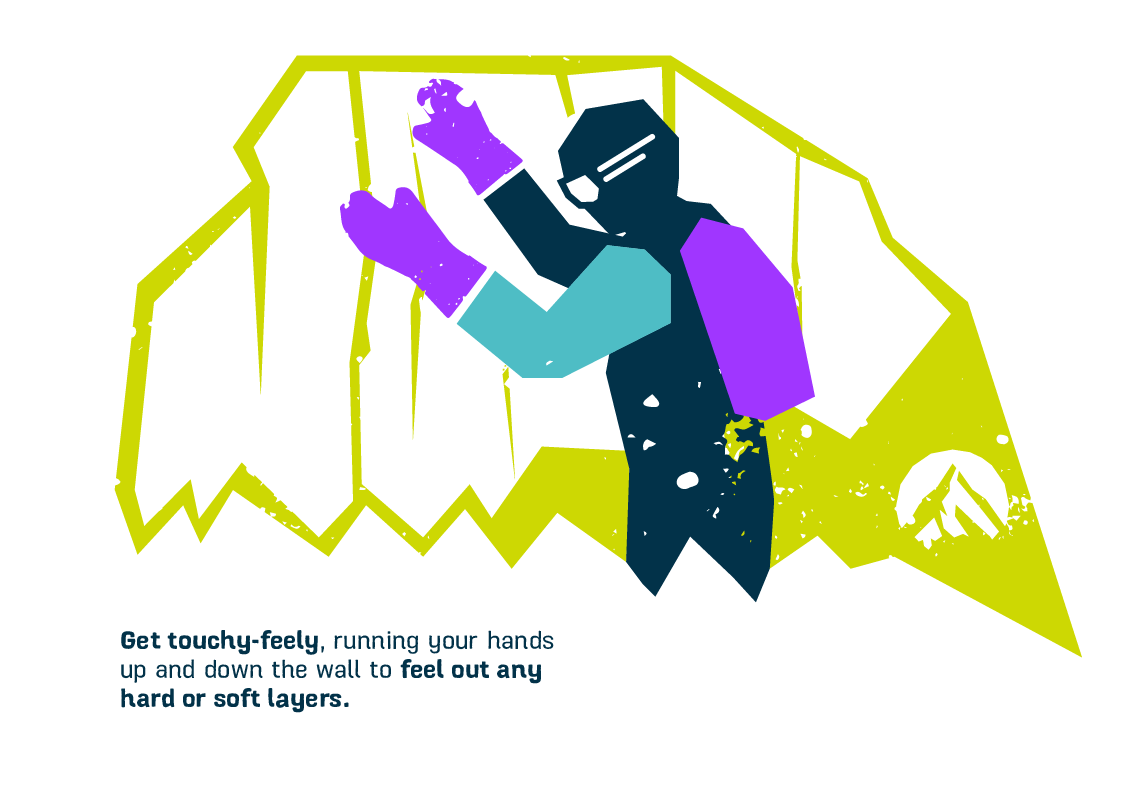
Once your pit is complete, but before you conduct your stability test, have a good look at the pit wall on the uphill side. It should tell a fascinating story of successive snowfalls. You’re looking for differences in the snow crystals in each successive layer – in particular how well these different layers have bonded together. Keep an eye out for large-grained and/or sparkly crystals that could indicate the presence of unstable faceted snow or depth hoar that could create a fracture line. Next, run a lift pass or credit card down through the layers. The degree of resistance you feel as you pass through the layers will give you an indication of any weaknesses in the snowpack.
There are lots of different kinds of snow stability tests you can do but the one we like, and the standard for backcountry travellers everywhere, is the Extended Column Test. The Republic favour the ECT because it is relatively quick to prepare (meaning we can do lots of tests right across the slope for a more complete picture of snowpack stability) and because it gives an indication of propagation.
Isolate
To conduct an ECT, isolate a column of snow 90cm wide by 30 cm deep in your snow pit. There are numerous different methods to do this, but we like the paracord snowsaw method demonstrated by Mark Sedon – check out Just the Tip YouTube video for more. This is why we recommend carrying a length of paracord knotted at 30cm intervals in our Have You Remembered? Series.
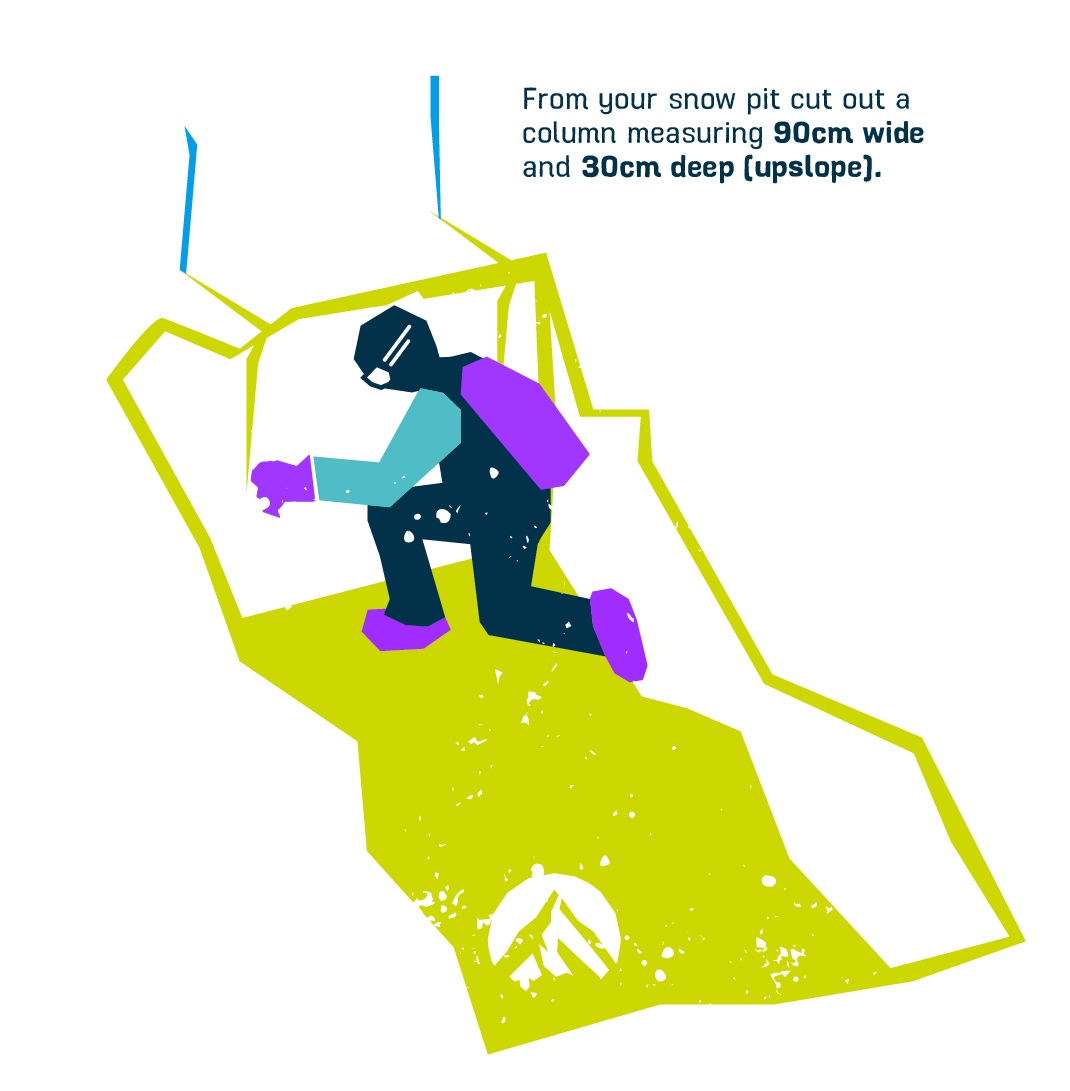
Tap tap tap
Once you’ve isolated your column, lay the blade of your shovel flat on top but to one side of the column. Place your forearm along the shaft of the shovel and tap the blade ten times with your hand by articulating your wrist. Don’t push your hand onto the shovel blade but let it fall with its own weight. Next, repeat this step with another ten taps, but this time articulate from your elbow. Finally, conduct ten more taps articulating from your shoulder using the full weight of your arm.
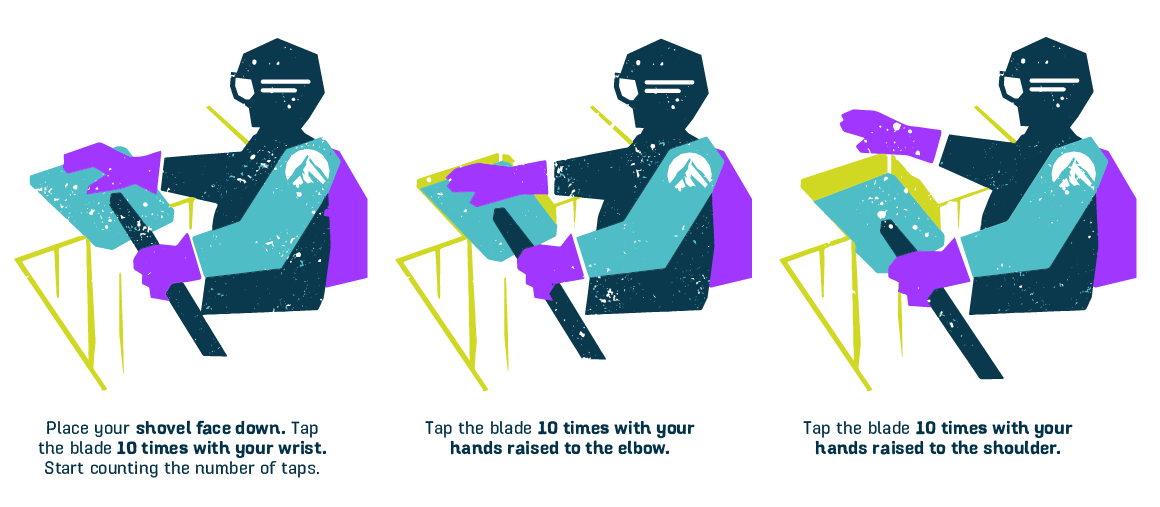
You’re looking to see how many taps with increasing force it takes to fracture the block and at what depth the fracture occurs. For example, a fracture at 70cm is going to be more consequential than a fracture at 5cm. An easy fracture with light taps is bad and indicates poor stability – so you should be extremely wary.
It’s up to you to decide the level and depth of instability you’re prepared to accept, but at the Republic we take any failure during wrist tapping below 10cm as not safe to ride. Fracture at any point during elbow tapping is going to require lots of communication within the group on what to do next – there will most likely be the sucking of teeth and a change of plan.
Propagation
Propagation refers to the likelihood of a fracture extending beyond the initial point of failure like a domino effect. In extreme cases, avalanches can propagate over several kilometres from the initial fracture.
The beauty of the ECT is that it’s possible to observe both the stability and the potential propagation. When tapping the column, does the fracture only occur under the shovel or across the whole column? It doesn’t really matter at what point in the tapping process it occurs, a shear propagating across the whole column is a strong indicator that the snowpack could produce a deadly slab avalanche. In this instance, brown underpants are a sensible precaution and we would want to do more confirmatory tests before making any decisions about what to do next. If you don’t have other information that indicates the slope is stable, avalanche.org strongly recommends that you ‘avoid slopes with conditions where ECTs are propagating’.
If you come across another crew digging a snow stability pit, don’t see it as an opportunity to steal their line – because if you do trigger a slide they’re your best chance for a rescue and you’ll want to keep them onside!
Let them finish the test and have right of first refusal – you’ll make more friends this way, feel better about yourself and maybe avoid a burial. All good reasons to show a little respect on the mountain.
Explore the themes below to find the best home for the content you want to learn about: