

Courchevel, France | FreeRide Sector: Saulire
Ride Date:
07 Mar 22Snow conditions:
SoftAvalanche level:
1 - LowTerrain:
Front countryWeather conditions:
SunnyPrecipitation:
ClearElevation entry point:
2500mElevation exit point:
2000mAspect:
North EastMax slope angle:
Over 45 degreesDrop in:
Ridge DropExit:
Ski outA couple hours of escapist adventure in the heart of the 3 valleys.
Before taking this one on, it's well worth taking a good look from below the line. Maybe take a few photos that will help you situate yourself when you are up top looking for the drop in. The easiest place to do this is from the top of the ‘Roche De L’Ombre’ drag lift. If you look up and to the right of the ‘Croix Des Verdons’ peak, scan right along the ridge line and you’ll see the line (marked on photo below).
From the top of the Dou Des Lanches chairlift head towards Méribel. At the start of the blue ‘Boulevard de la Loze’ piste, leave riders left (///lectured.coursed.chestnut) and ready yourselves to transition to boot packing. There are conditions when you’ll be better off skinning but that’s a decision you’ll have to make on the day. Take the path of least resistance to the top of the Rocher de la Loze (///coasters.sweeter.skulk). It’s about 200m vertical and takes roughly 60 minutes to climb.
The crest of the Col is a good place to take a quick break and regroup. Peaking over the top you’ll see the entrance to the Loze Couloir down and to your left - you need to head down but to the right in order to track around the back of the Rocher de la Loze and across the upper edge of the East Face, you’ll be heading roughly South. There are entrances to several other lines en route to the Combe En S drop in - most of which are more challenging and likely more avalanche prone, so wise not to be tempted by the lure of fresh tracks. Your traverse will eventually stop as you are greeted by a knoll which leads you back up towards the top of the ridge - it’s a long side step up here and steep so easier to bootpack using your skis in the snow to help you climb (see photo below). At the top of the knoll you have sight of the entrance to the line. There is an obvious rock stack skier's right (see 'section 1' photo below) which you can use to confirm you’re in the right place. The first section is a small bowl cresting upwards to the second longer part of the line.
It’s worth knowing that the line is shaded for most of the day by the Croix Des Verdons and has a more north-easterly aspect than other lines here, meaning that the snow conditions tend to hold longer than other aspects.
What 3 Words entry point
///falafel.plates.taintsWhat 3 Words exit point
///spires.wheels.shaggyFor this line you will need either skins or a backpack with ski carry for the ascent. Some binoculars or field glasses, while not essential, are useful for scoping the line, a camera phone would also be useful. You’d be foolish not to be carrying and capable with your TSP, an airbag makes sense if you have one, as well as a helmet.
This one feels like a great mini-adventure. Even though you can pretty much always see the resort below, there is something magical about being up on the ridge and away from the crowds. If you're lucky you’ll be painting a line on the mountain that may stay untouched and in view for several days. The flow of section one and three can feel like true joy.
There are some fantastic turns to be had here, given it’s quite a long line you may maximise your stoke by riding it in 3 sections.
1 - The initial bowl: This has an uphill runout, so once you’ve put in a couple of turns to get a feel for the conditions you can ride hard and let things flow - It’s a good spot to regroup before moving on.
2 - The steepest and narrowest section. This requires a bit more focus and is the part most likely to get your heart racing. You’ll want to take it one at a time here and regroup below the rocks riders left where things open up into the huge expanse below the couloirs.
3 - The long run out back to the piste. This is where the gradient mellows and you can give it full gas without concern about falling, avalanche danger remains from above but you're on the home straight. It's up to you where you rejoin the piste - somewhere near the top of 'sources' gives you the most vert.
The climb and traverse are pretty mellow, you never feel very exposed, however the line is certainly over 45 degrees in the steepest, narrowest section so preparation and safe travel techniques are important.
We’d suggest a clear day with a low avi risk rating. Combining the avalanche report with your own observations from below the line seem like a must. If you see evidence of any purging from below on the day then it probably isn’t the day for this one. If conditions aren’t what you expect when you’re on the top of the line then a snow pit might be a clincher in deciding whether to turn around or commit to the line.
If the line isn’t on then it’s probably sensible to assume none of the east face is in play. Other options could be the Loze Couloir, the West Face or possibly riding or downclimbing the bootpack route.
Even though you can knock this one out in a couple of hours, it’s smart to give yourself plenty of time to make it to the drop in before conditions get too warm, the shadows too long in the steepest section or to dig a snow pit.
There are views, angles and perspectives of the surrounding mountains and resorts that you likely won’t have seen before, soaking these in is wonderful and almost as much a part of the trip as riding the line itself. My favourite scene was emerging from the back of the Rocher de la Loze and taking in the valley below and the Croix De Verdon / Saulire peaks above.
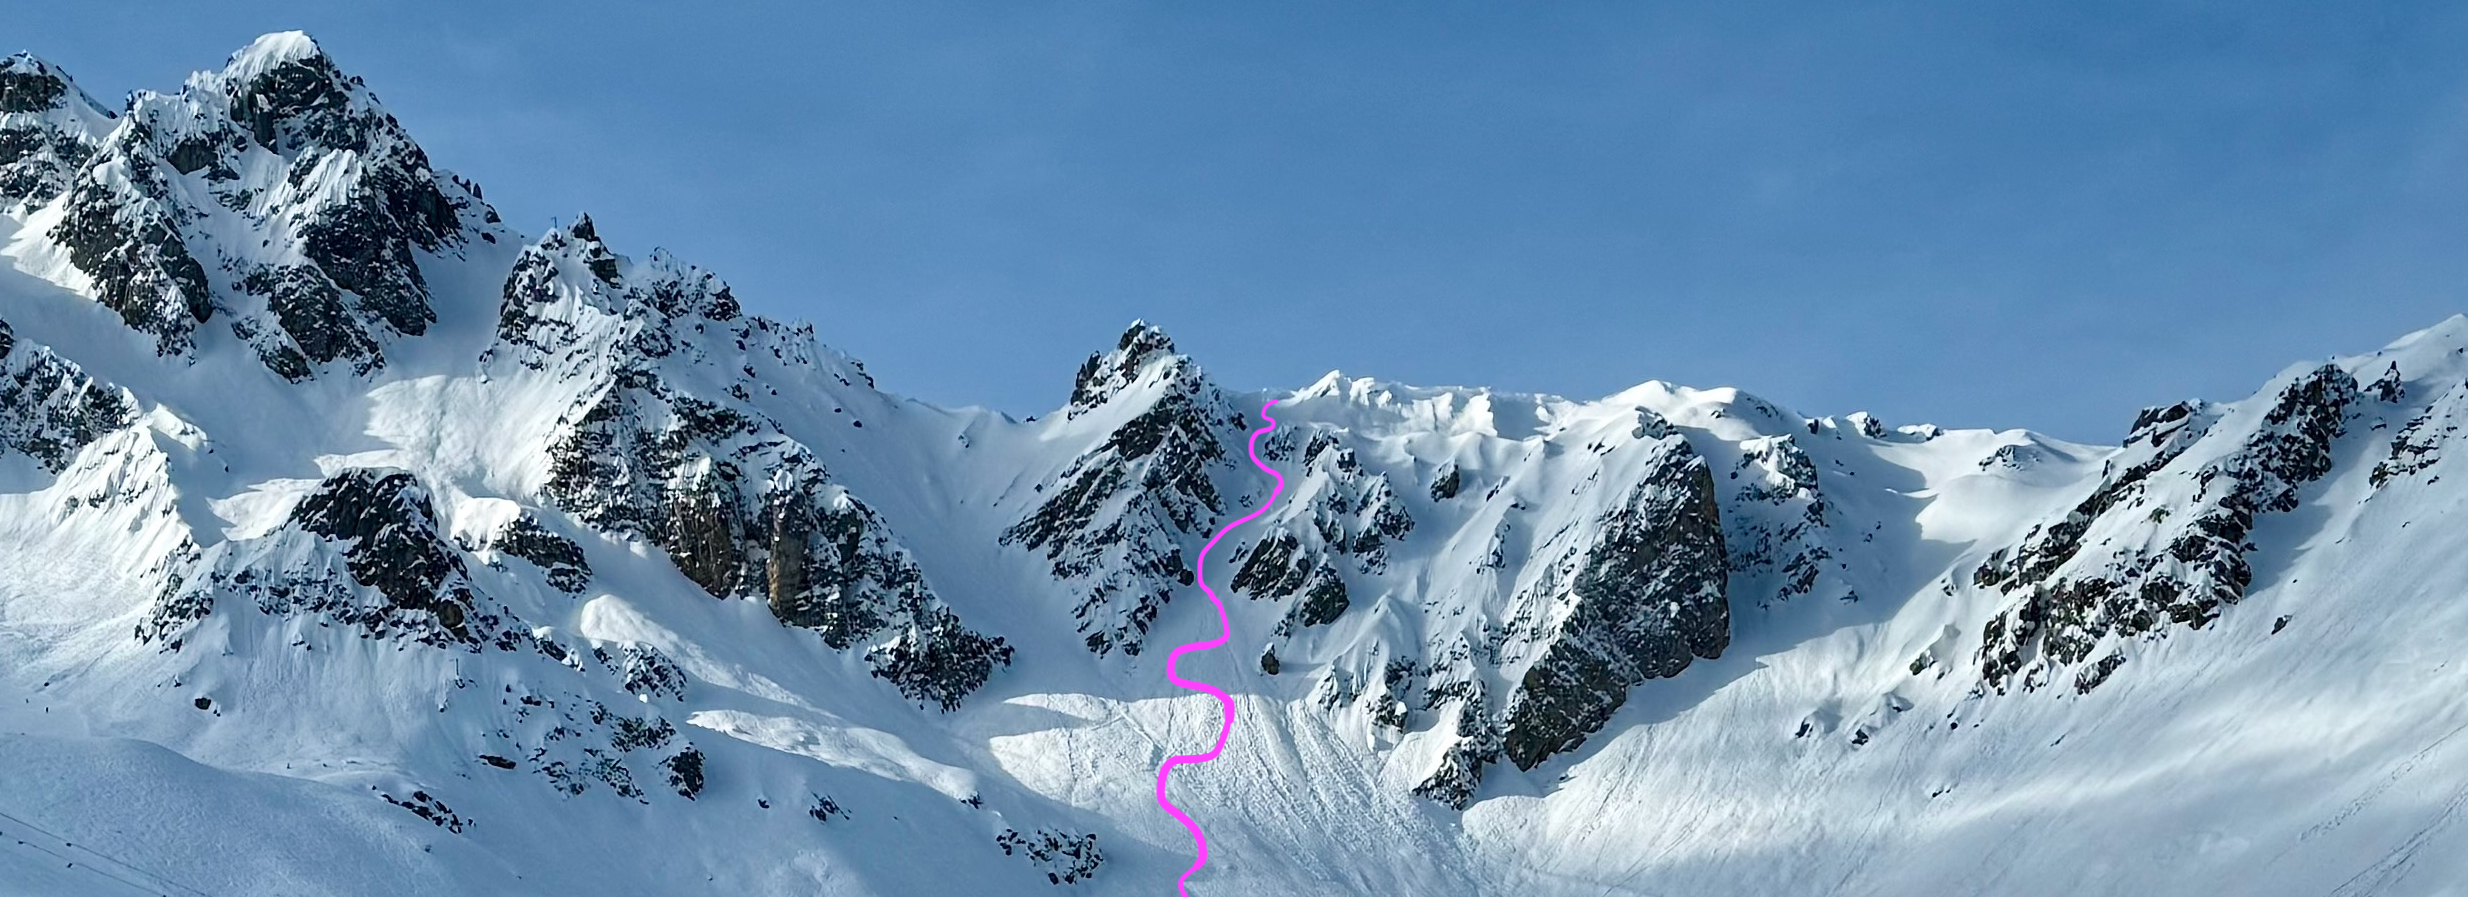
The Line (pink squiggle)
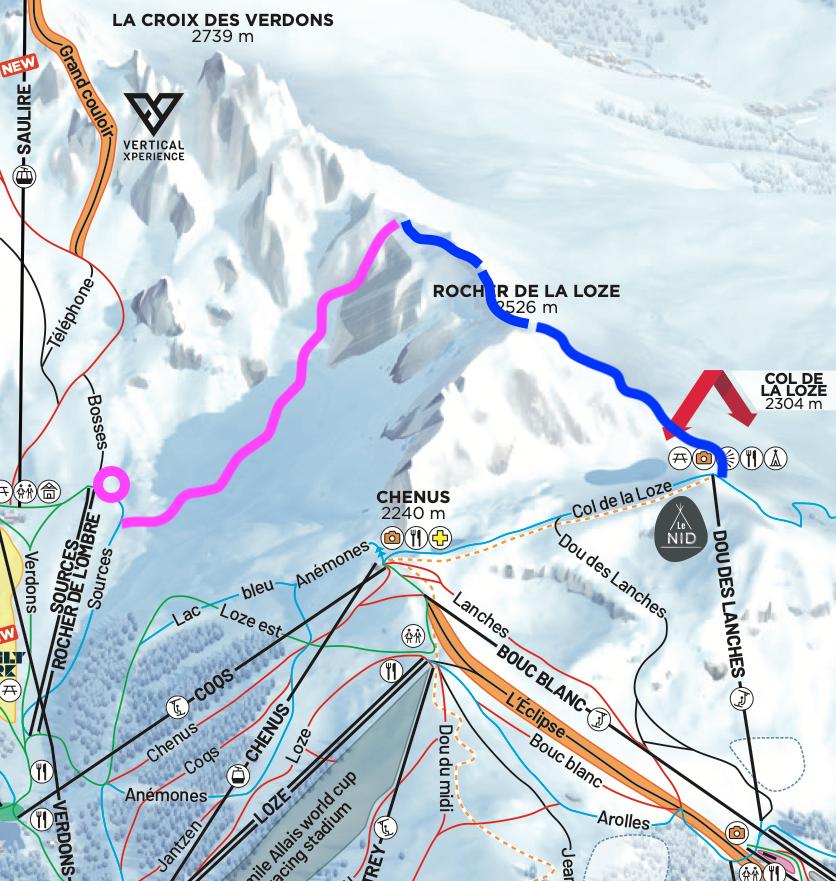
The Recce Spot (pink circle) The Bootpack (blue squiggle) The Line (pink squiggle)
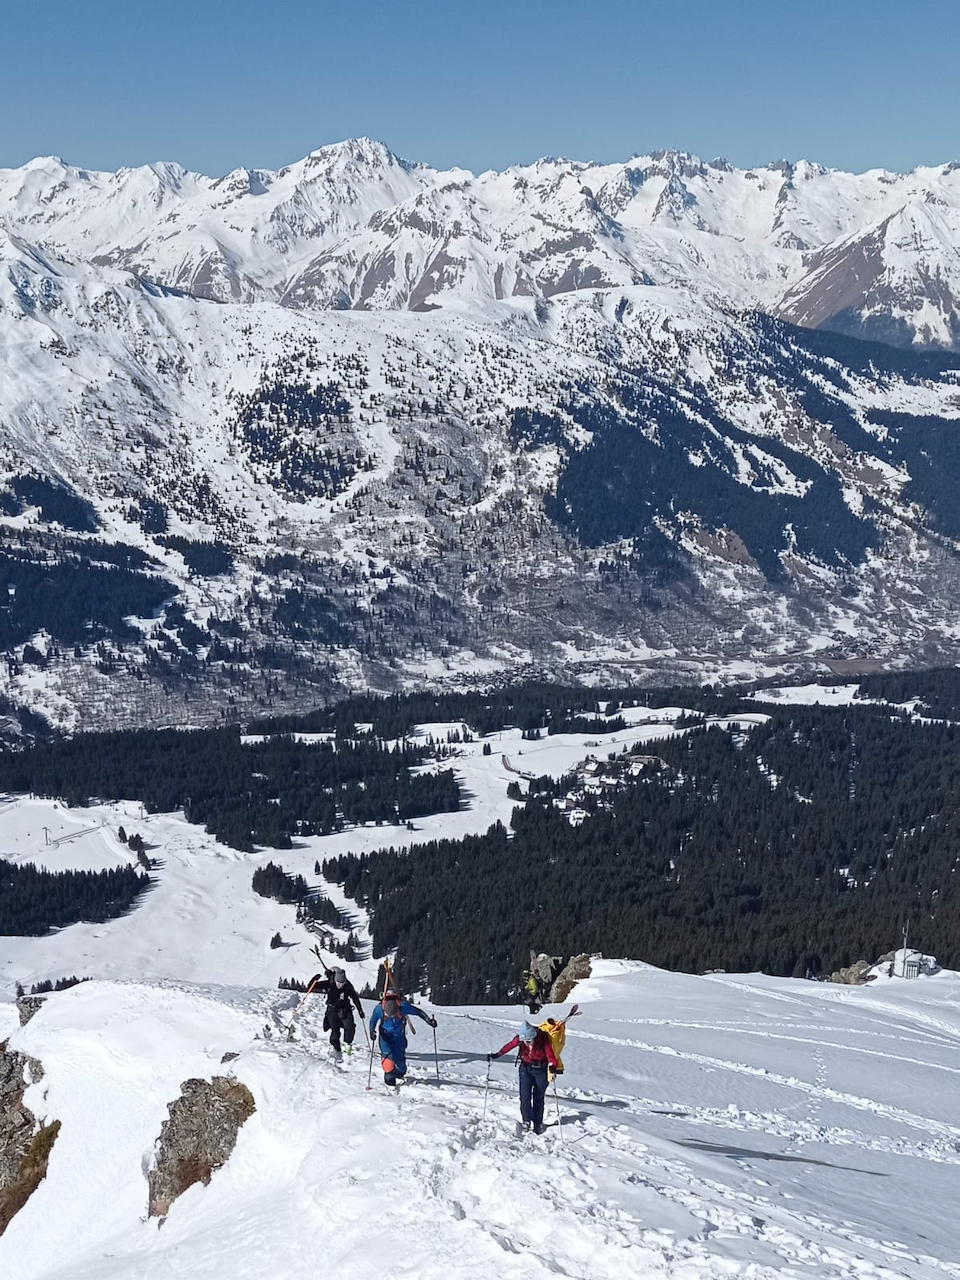
Boot Packing up to the Rocher de la Loze
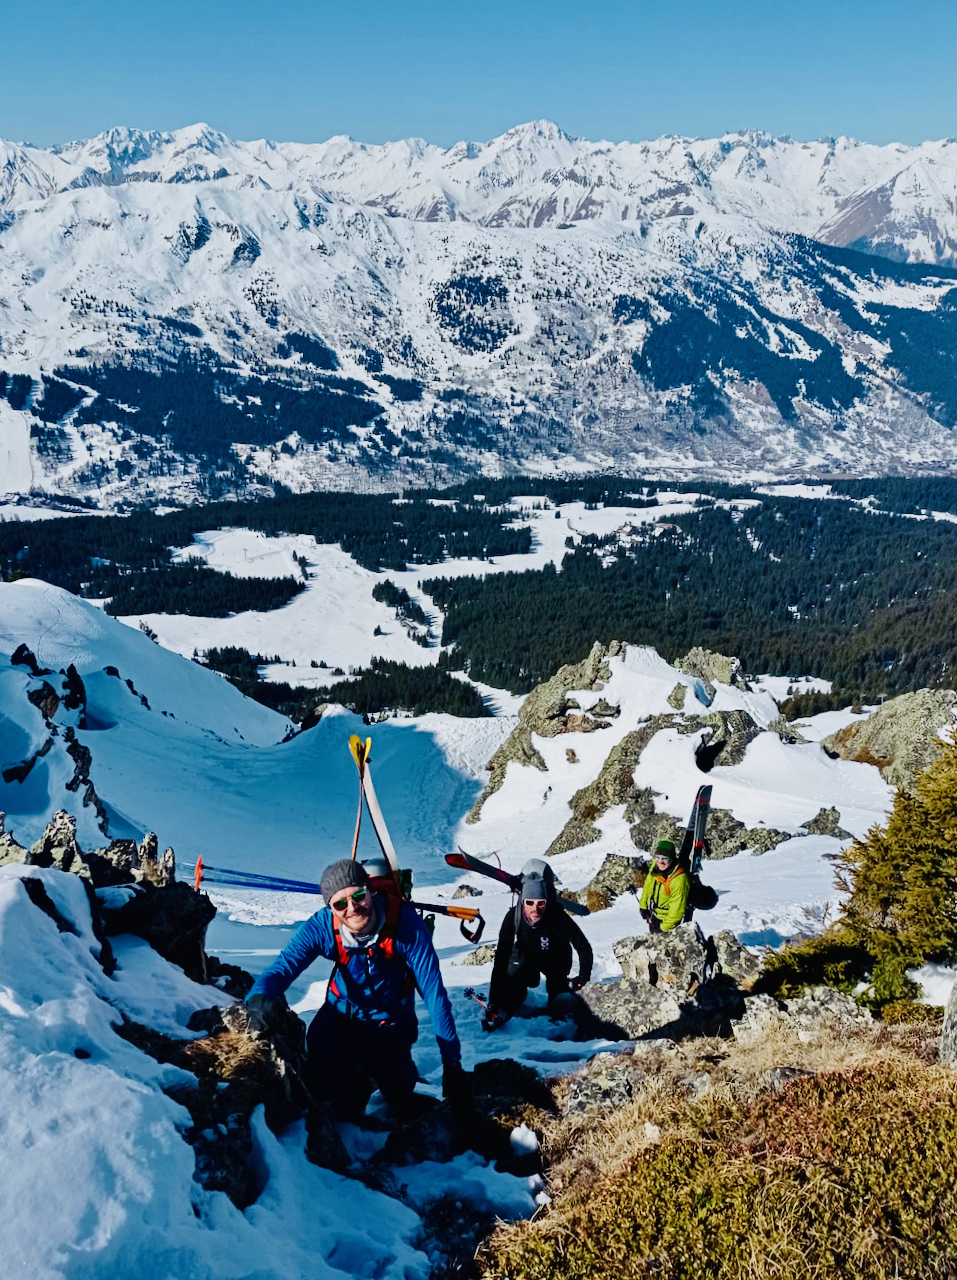
Occasional Scramble Required
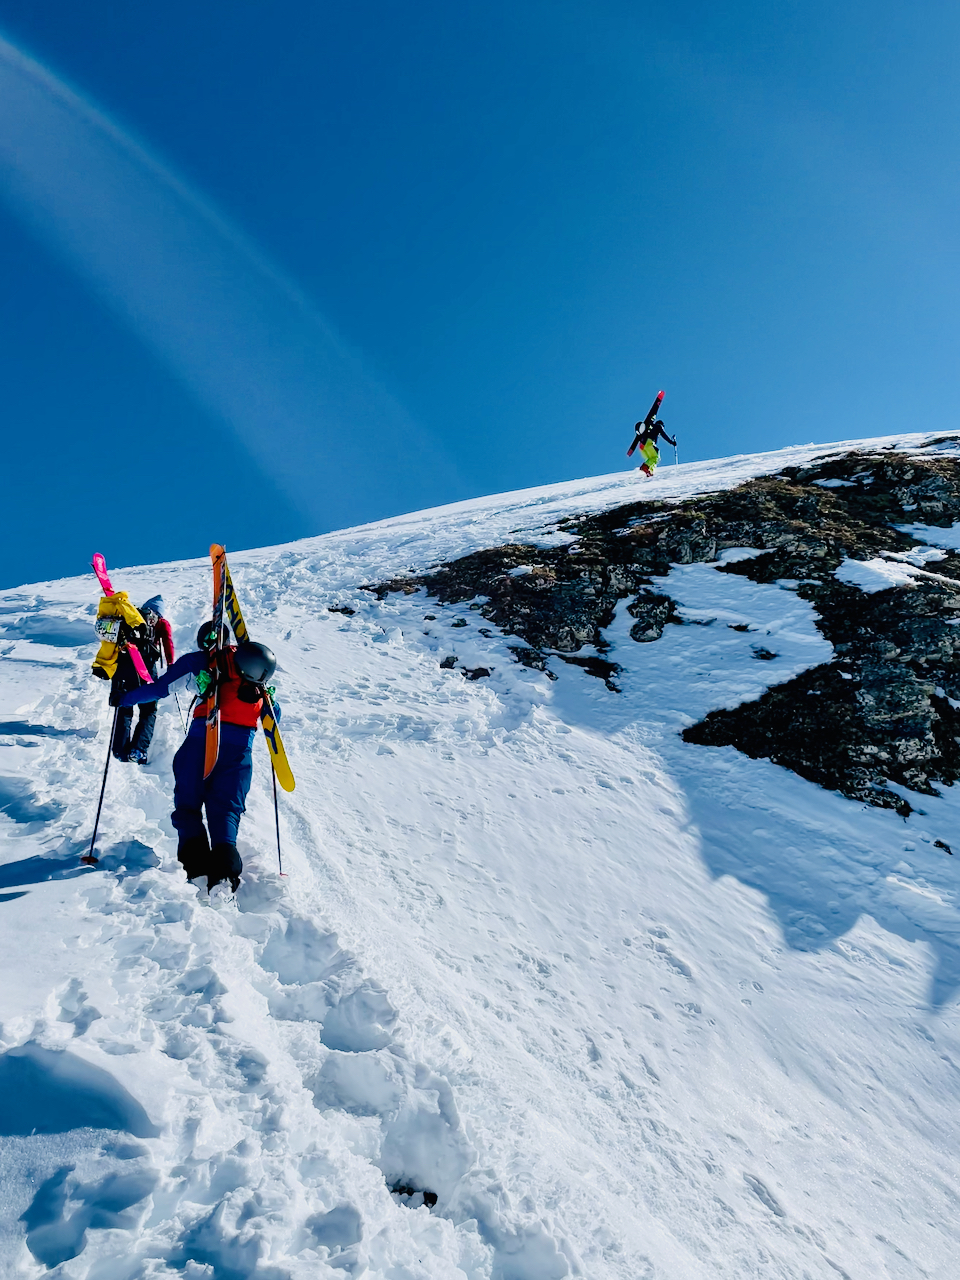
Final Leg to the Meeting Point at the top of the main climb
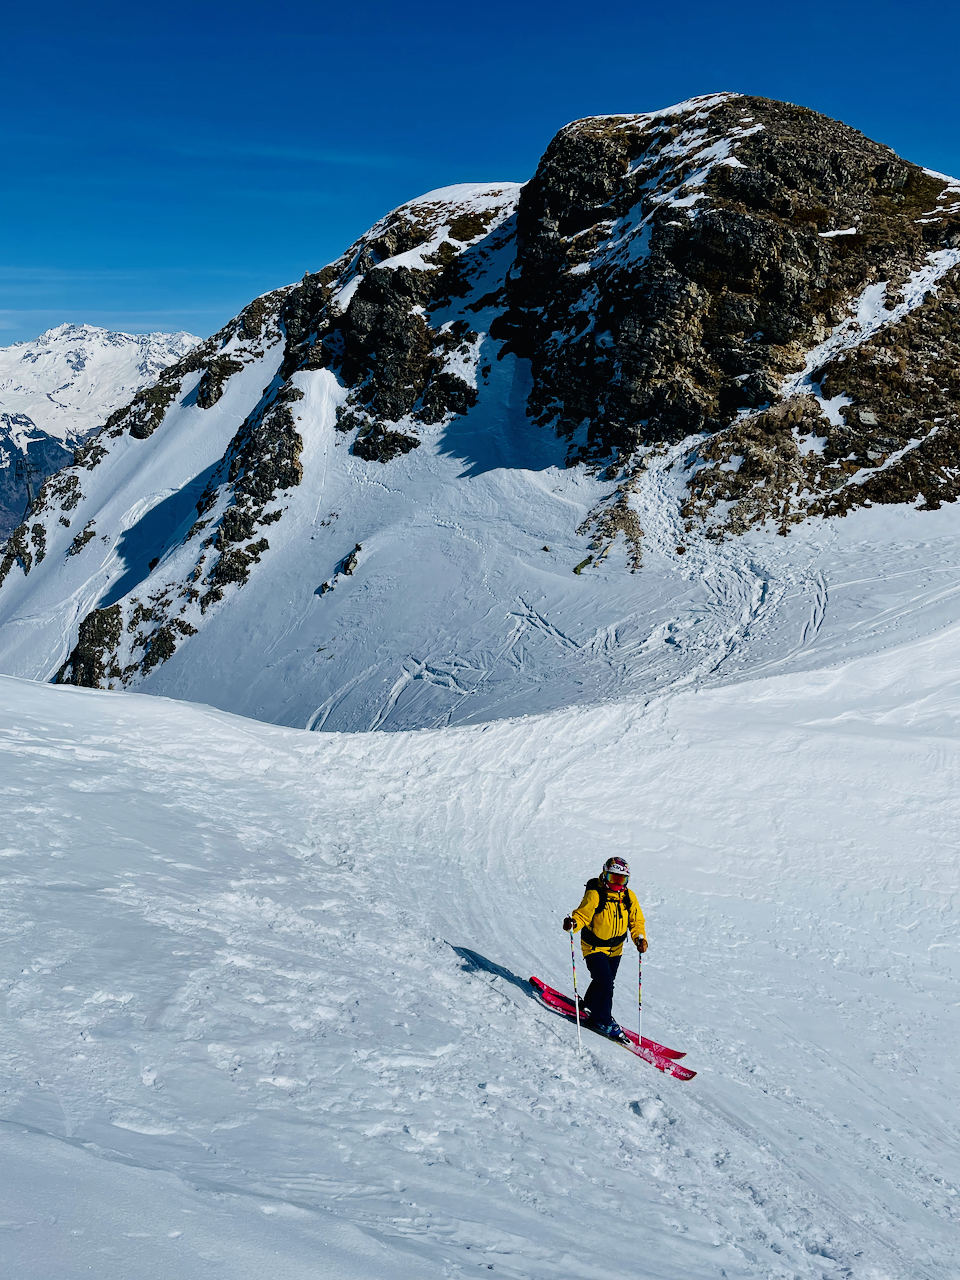
Once over the top head down and traverse to the right (Left takes you into the Loze Couloir)
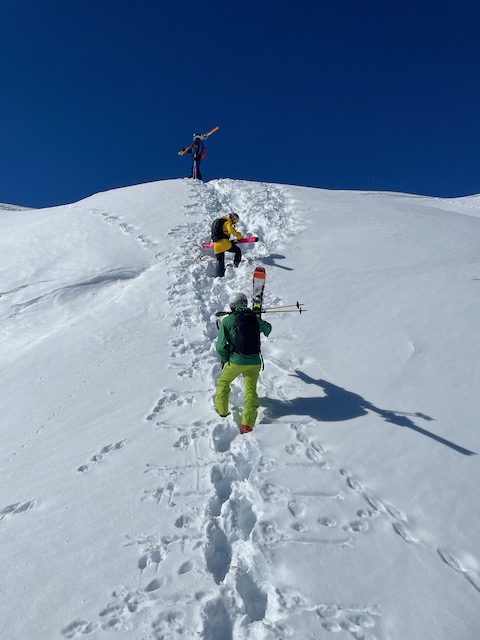
Short boot pack after the traverse, over the knoll is the drop in
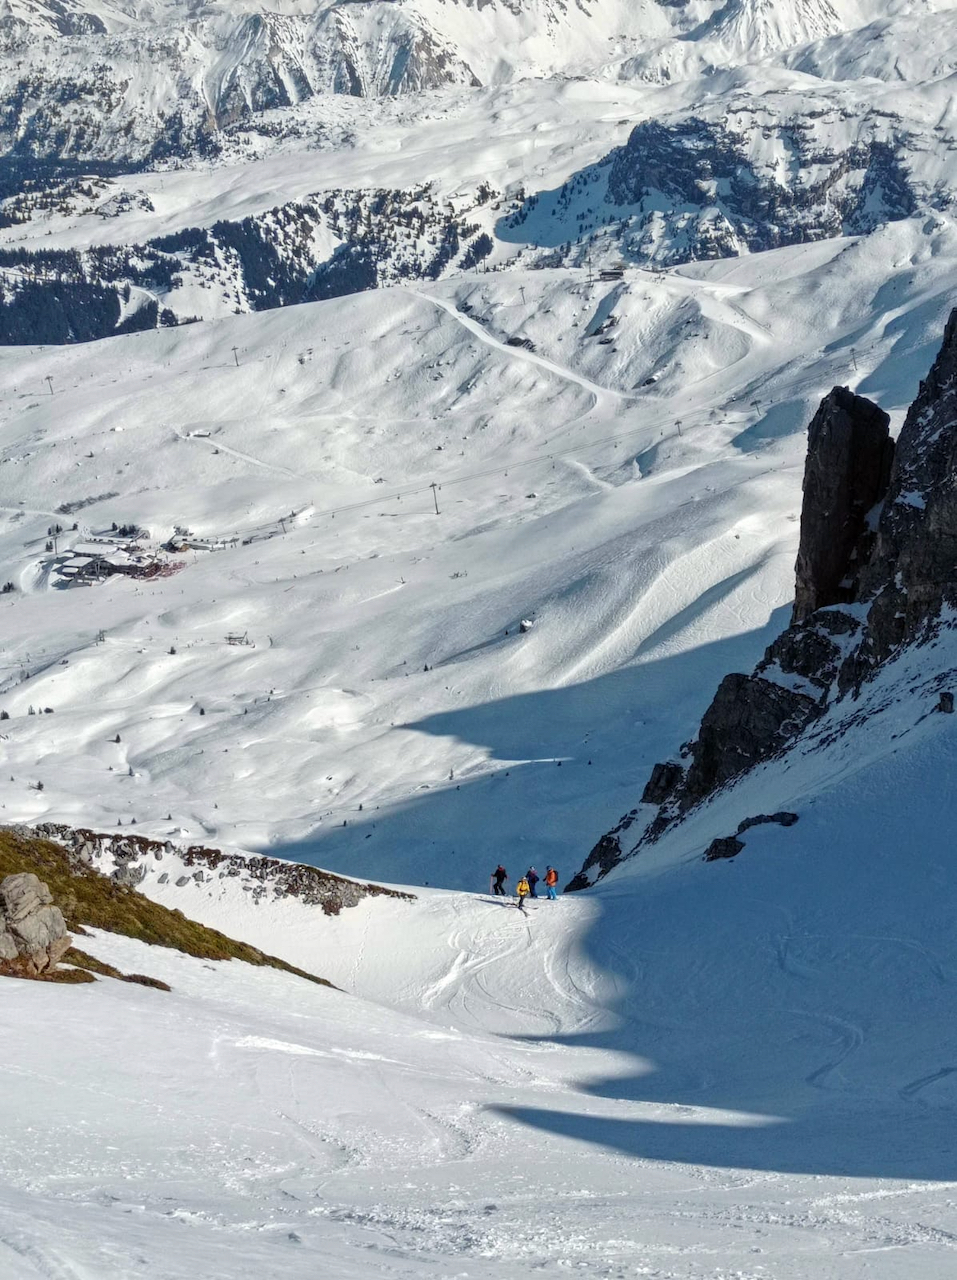
The drop in to the bowl, section 1
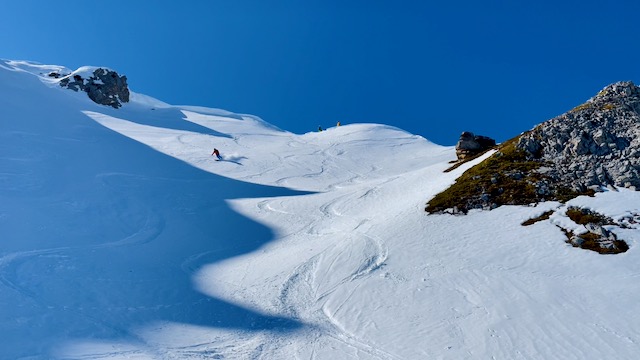
Riding section 1
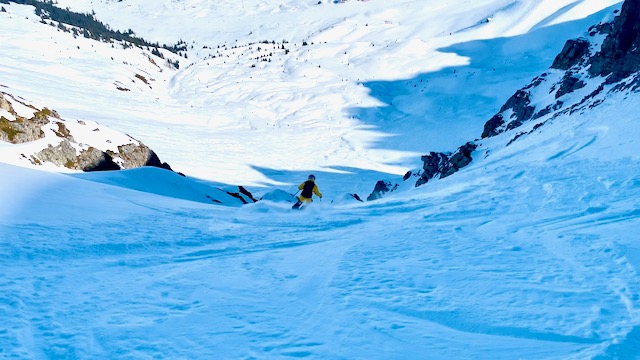
Riding section 2
Riding Section 1
Riding Section 1 & 2
Explore the themes below to find the best home for the content you want to learn about: