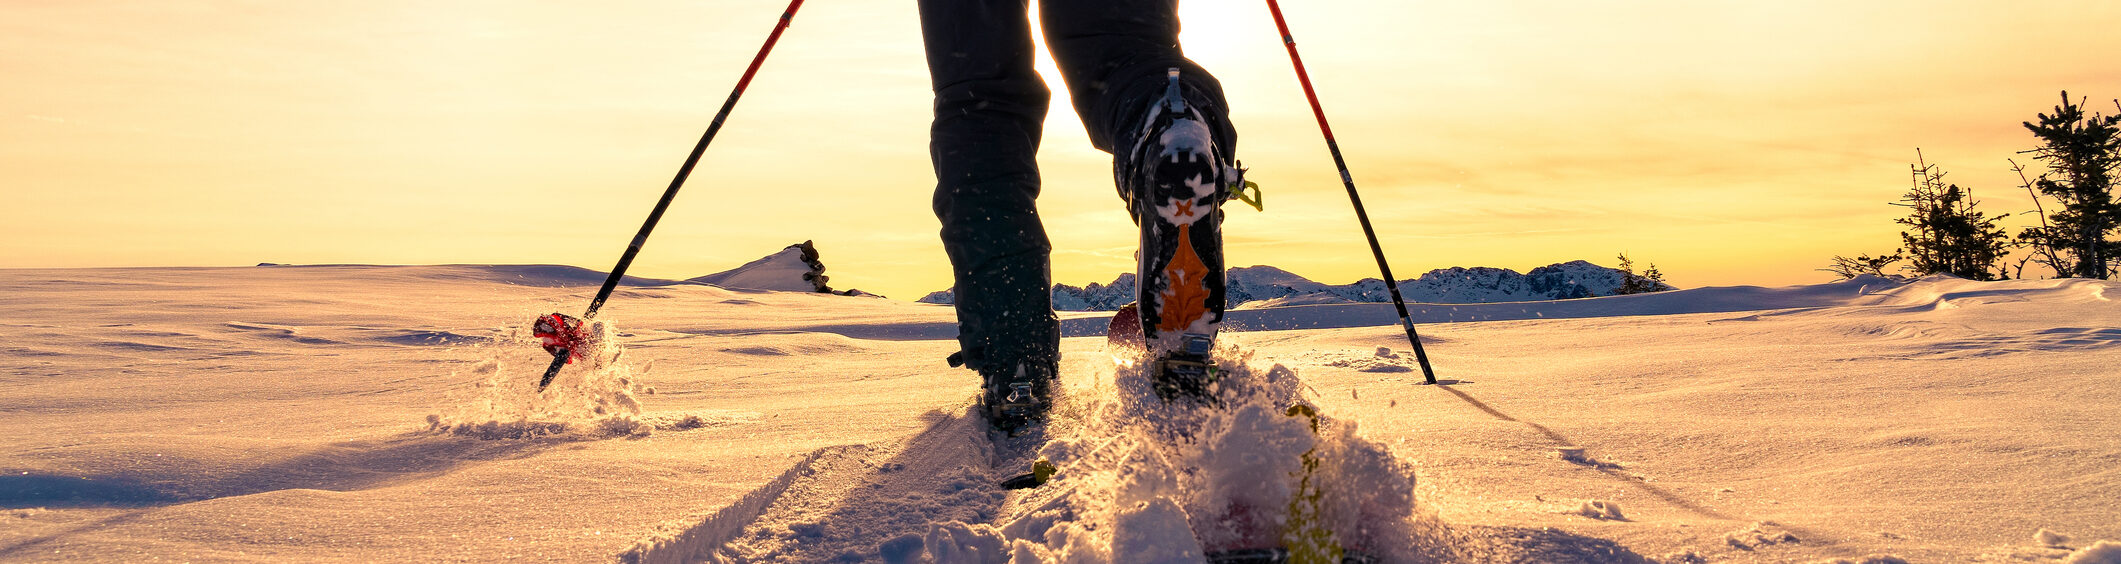
Transitions are one of the most overlooked skills in split-boarding and ski touring. This step-by-step guide covers how to transition efficiently from riding downhill on your planks to being fully set up and skinning uphill — without losing gear, getting cold, or annoying your crew.
If you don’t plan ahead there’s a real possibility you’ll end up with kit all over the snow just as the visibility closes in.
Have a process and stick to it. A little OCD can be a good thing in the transition. It’s ridiculously easy to lose things in the snow, so being obsessive about securing and stowing gear is a must.
It’s a good idea to keep an eye on your crew mates and aim to keep pace with them as you go through the transition. You don’t want to keep everyone waiting, and getting cold, because you were too busy chatting or taking selfies.
It may seem obvious but you’re going to be at your most vulnerable during the transition so make sure you pick a good spot that is away from any avalanche danger, offers some protection from the elements and where it’s safe to move around.
Once you stop, swap your bulky riding gloves for contact gloves. You’ll need dexterity, and bare hands will get cold fast. Secure your riding gloves immediately — losing them can end your day.
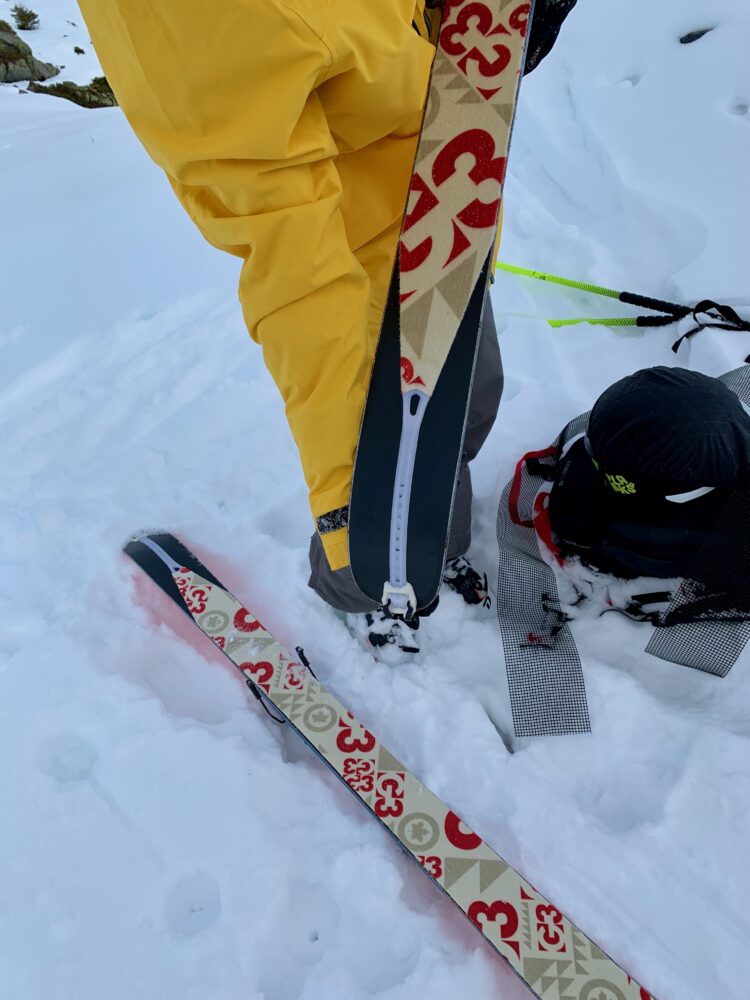
Plant poles handle-first into the snow. Remove your planks and secure them beside the poles — don’t rely on brakes alone. Dig a small pit, place your pack back-panel-down into the snow, and keep the opening facing you for easy access.
Now take out your skins. Ideally you stowed them somewhere easy to reach. Work methodically and purposefully. The clock is ticking and you don’t want to be static for too long. Be sure to stow your skins bag and cheat sheets before moving on to the next task.
Next, adjust your boots and bindings into walk mode and if you have telescopic poles, extend them by 10-15 cm from your ride length.
Unless there’s a risk of rockfall or avalanche onto the skin track, you’re probably not going to wear your helmet while skinning. Secure it to your pack in such a way that it won’t drive you crazy swinging around on your back when you get moving again.
Now is also a good time to put on some sunscreen, a warm, but not too warm, hat and some sunnies to protect you from the cold and the UVs. You may also want to have a quick, energy boosting snack. Be warned, this is typically the moment when your personal administration can get away from you, resulting in multiple unsecured items on the snow.
You may well feel a little chilly at this point so removing a layer might seem counterintuitive but you’re going to be moving again soon and most likely, cooking up a sweat. Don’t be tempted to just remove your outer shell as it’s not an insulating layer. Go for the layer beneath, it’s slightly more laborious taking off your jacket and putting it back on again afterwards but it’s the best thing to do. Be sure to safely stow that mid-layer.
Before replacing your pack, do a final check that all your gear is stashed and if you have them, open your pit zips as it can be tricky/impossible to do this once your pack is on.
Finally, step back into your planks and take control of your poles. While this sounds simple enough it can be fiendishly complicated in deep snow. As with everything in the transition, it gets easier with practice.
Keeping this kit easy to access will make every transition faster, warmer, and far less stressful.

Other transitions can be found in our Transitions Hub.
We’ll see you up there.
Explore the themes below to find the best home for the content you want to learn about: