Lexicon
SHARE YOUR LINGO
Sign In / Sign Up

Not signed up yet?

Sign Up

LearnSki Touring Transitions: Boots -> Planks

How to Go From Boots to Planks Efficiently

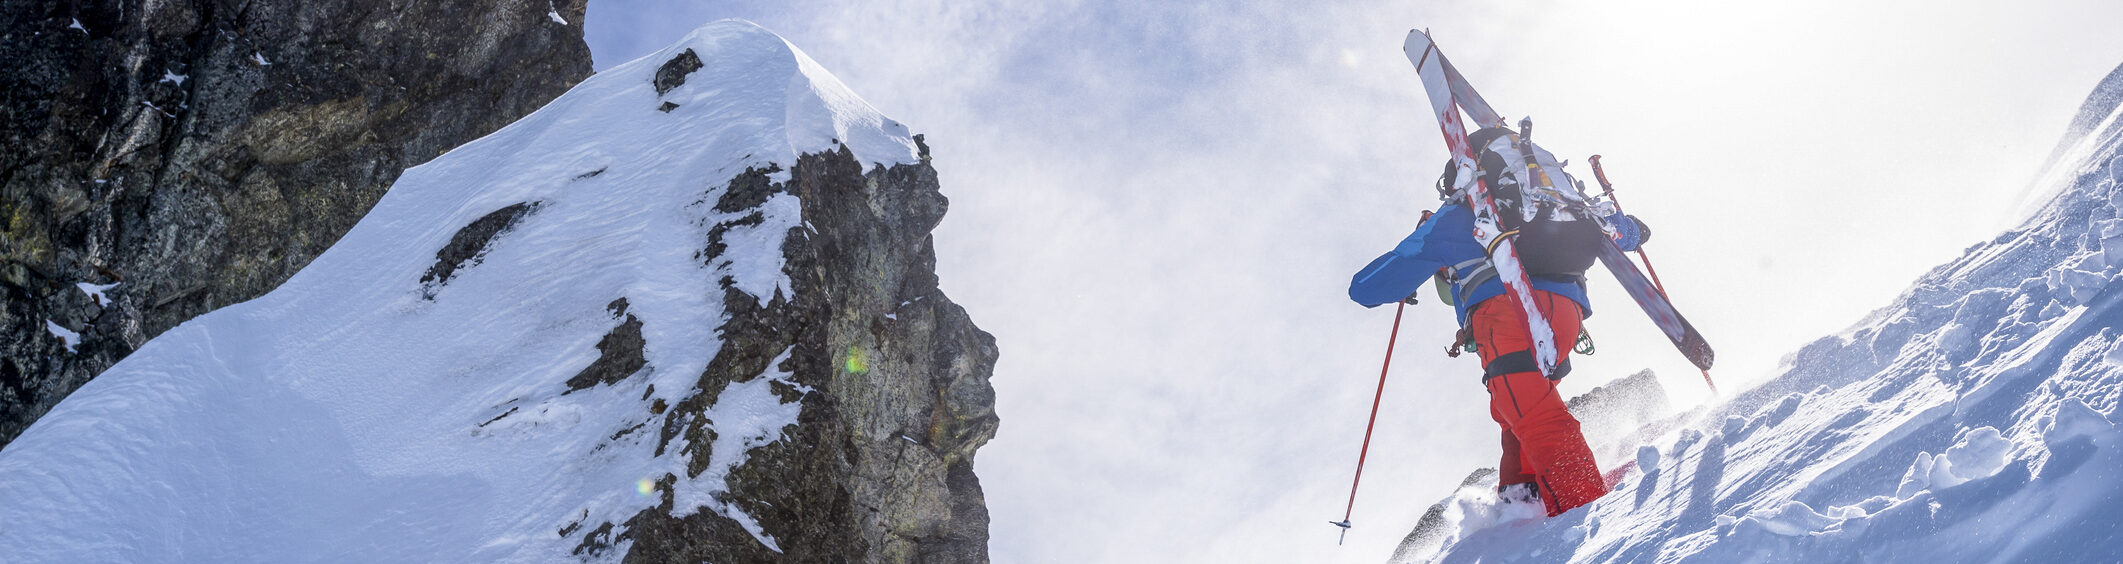
Transitions are one of the most overlooked skills in split-boarding and ski touring. This step-by-step guide covers the ski touring transition from bootpacking to riding your downhill setup. Efficient transitions reduce risk, keep your crew moving, and stop you haemorrhaging heat while you’re static in exposed terrain.

Step-by-Step

1. Look Ahead Early

During the final minutes of your ascent, start actively looking for the best place to transition back to planks.

In general, the more technical the descent, the less safe space you’ll have to work with. Ideally, find an area where you can place the full length of your skis in the snow. If needed, tread out or flatten a small platform to create a stable working area.

Transitions can be done in tight spaces, but more room means fewer mistakes.

2. Find the Safest Place to Stop

Options may be limited, and you may be forced to accept more risk than during your transition before the ascent (see Planks -> Boots).

Even so, prioritise:

  • Reduced avalanche exposure
  • Protection from wind and spindrift
  • A position where you can move without losing balance

If you’re not happy standing there for five minutes, it’s probably not the right spot.

3. Plan Before You Touch Anything

The tighter the terrain, the more important your process becomes.

Dropping a glove at the top of a couloir or losing a ski from a ridgeline is a very different problem to fumbling kit at the base of a climb. Before you start, be clear on:

  • What you’re doing first
  • Where each piece of kit will go
  • What absolutely cannot be dropped

4. Be Methodical (A Little OCD Helps)

Know your order and stick to it.

A consistent transition routine reduces mistakes, speeds things up, and frees mental capacity for decision-making. This is one of those moments where being slightly obsessive is a good thing.

5. Secure Your Kit First

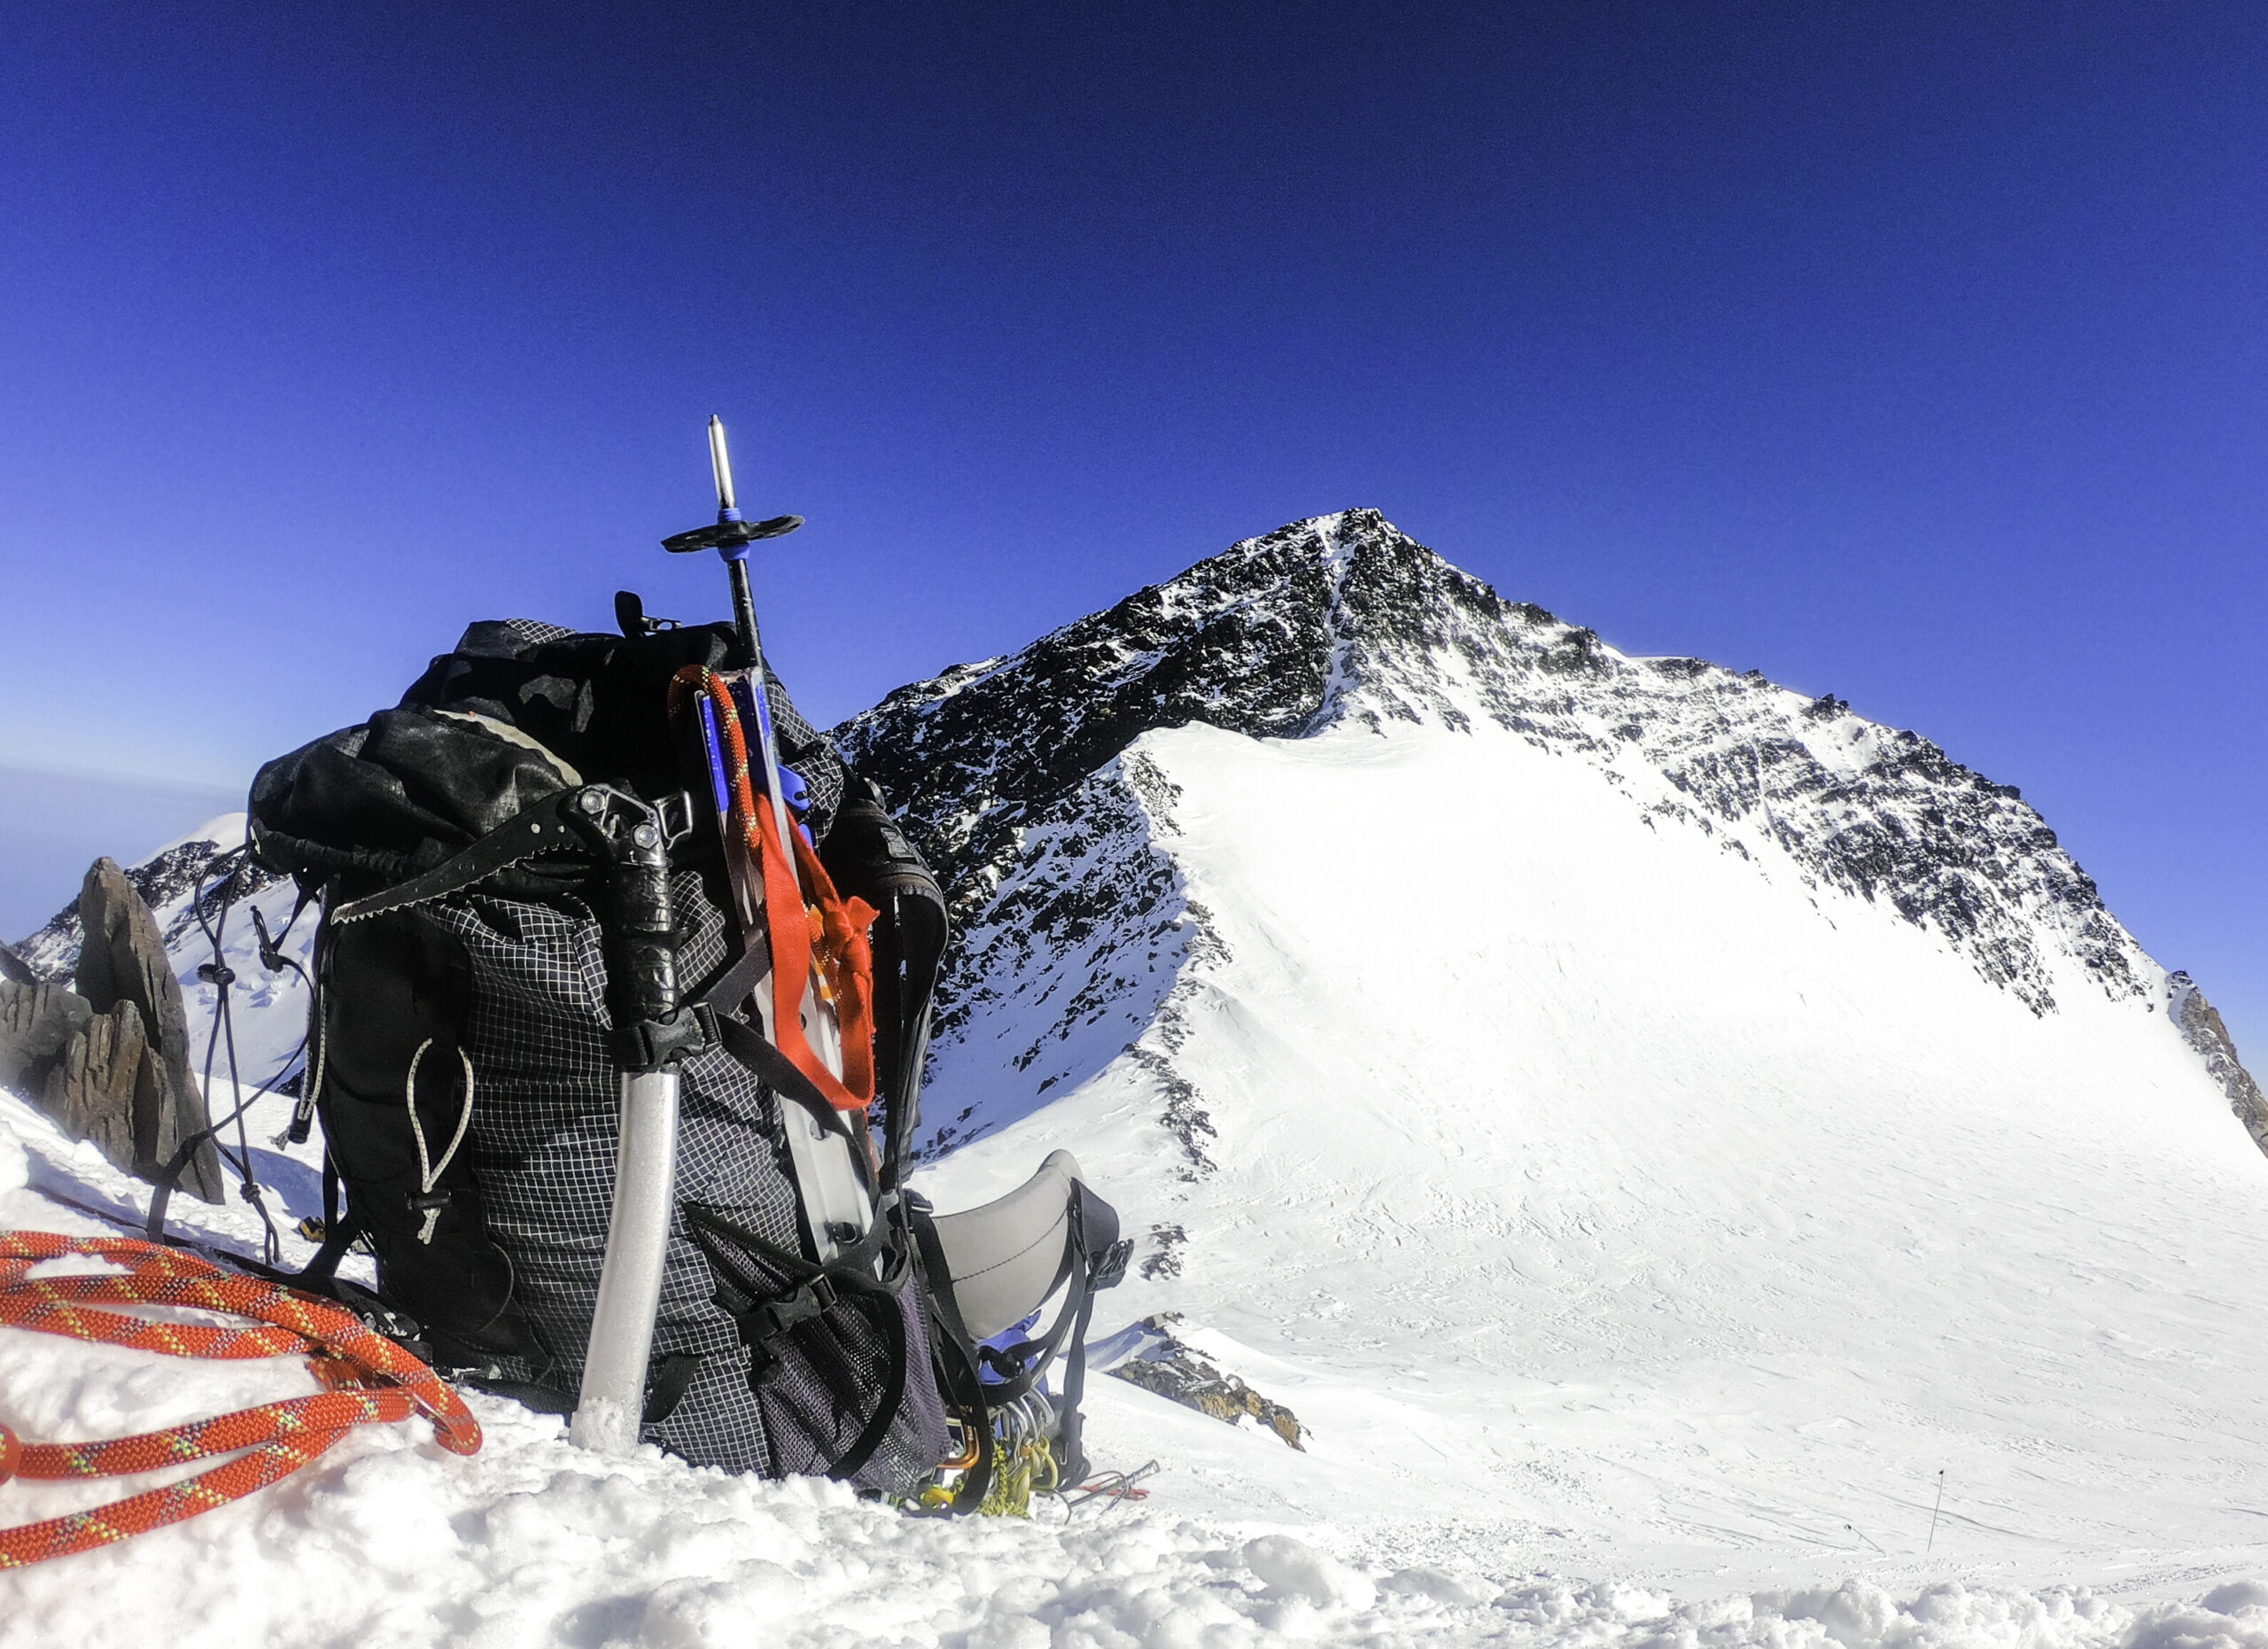
Once you’ve manoeuvred into position:

  • Remove poles and backpack
  • Secure them above you, within easy reach

The contents of your pack are critical. Treat this step with full attention — not as an afterthought.

6. Layer Up Before You Cool Down

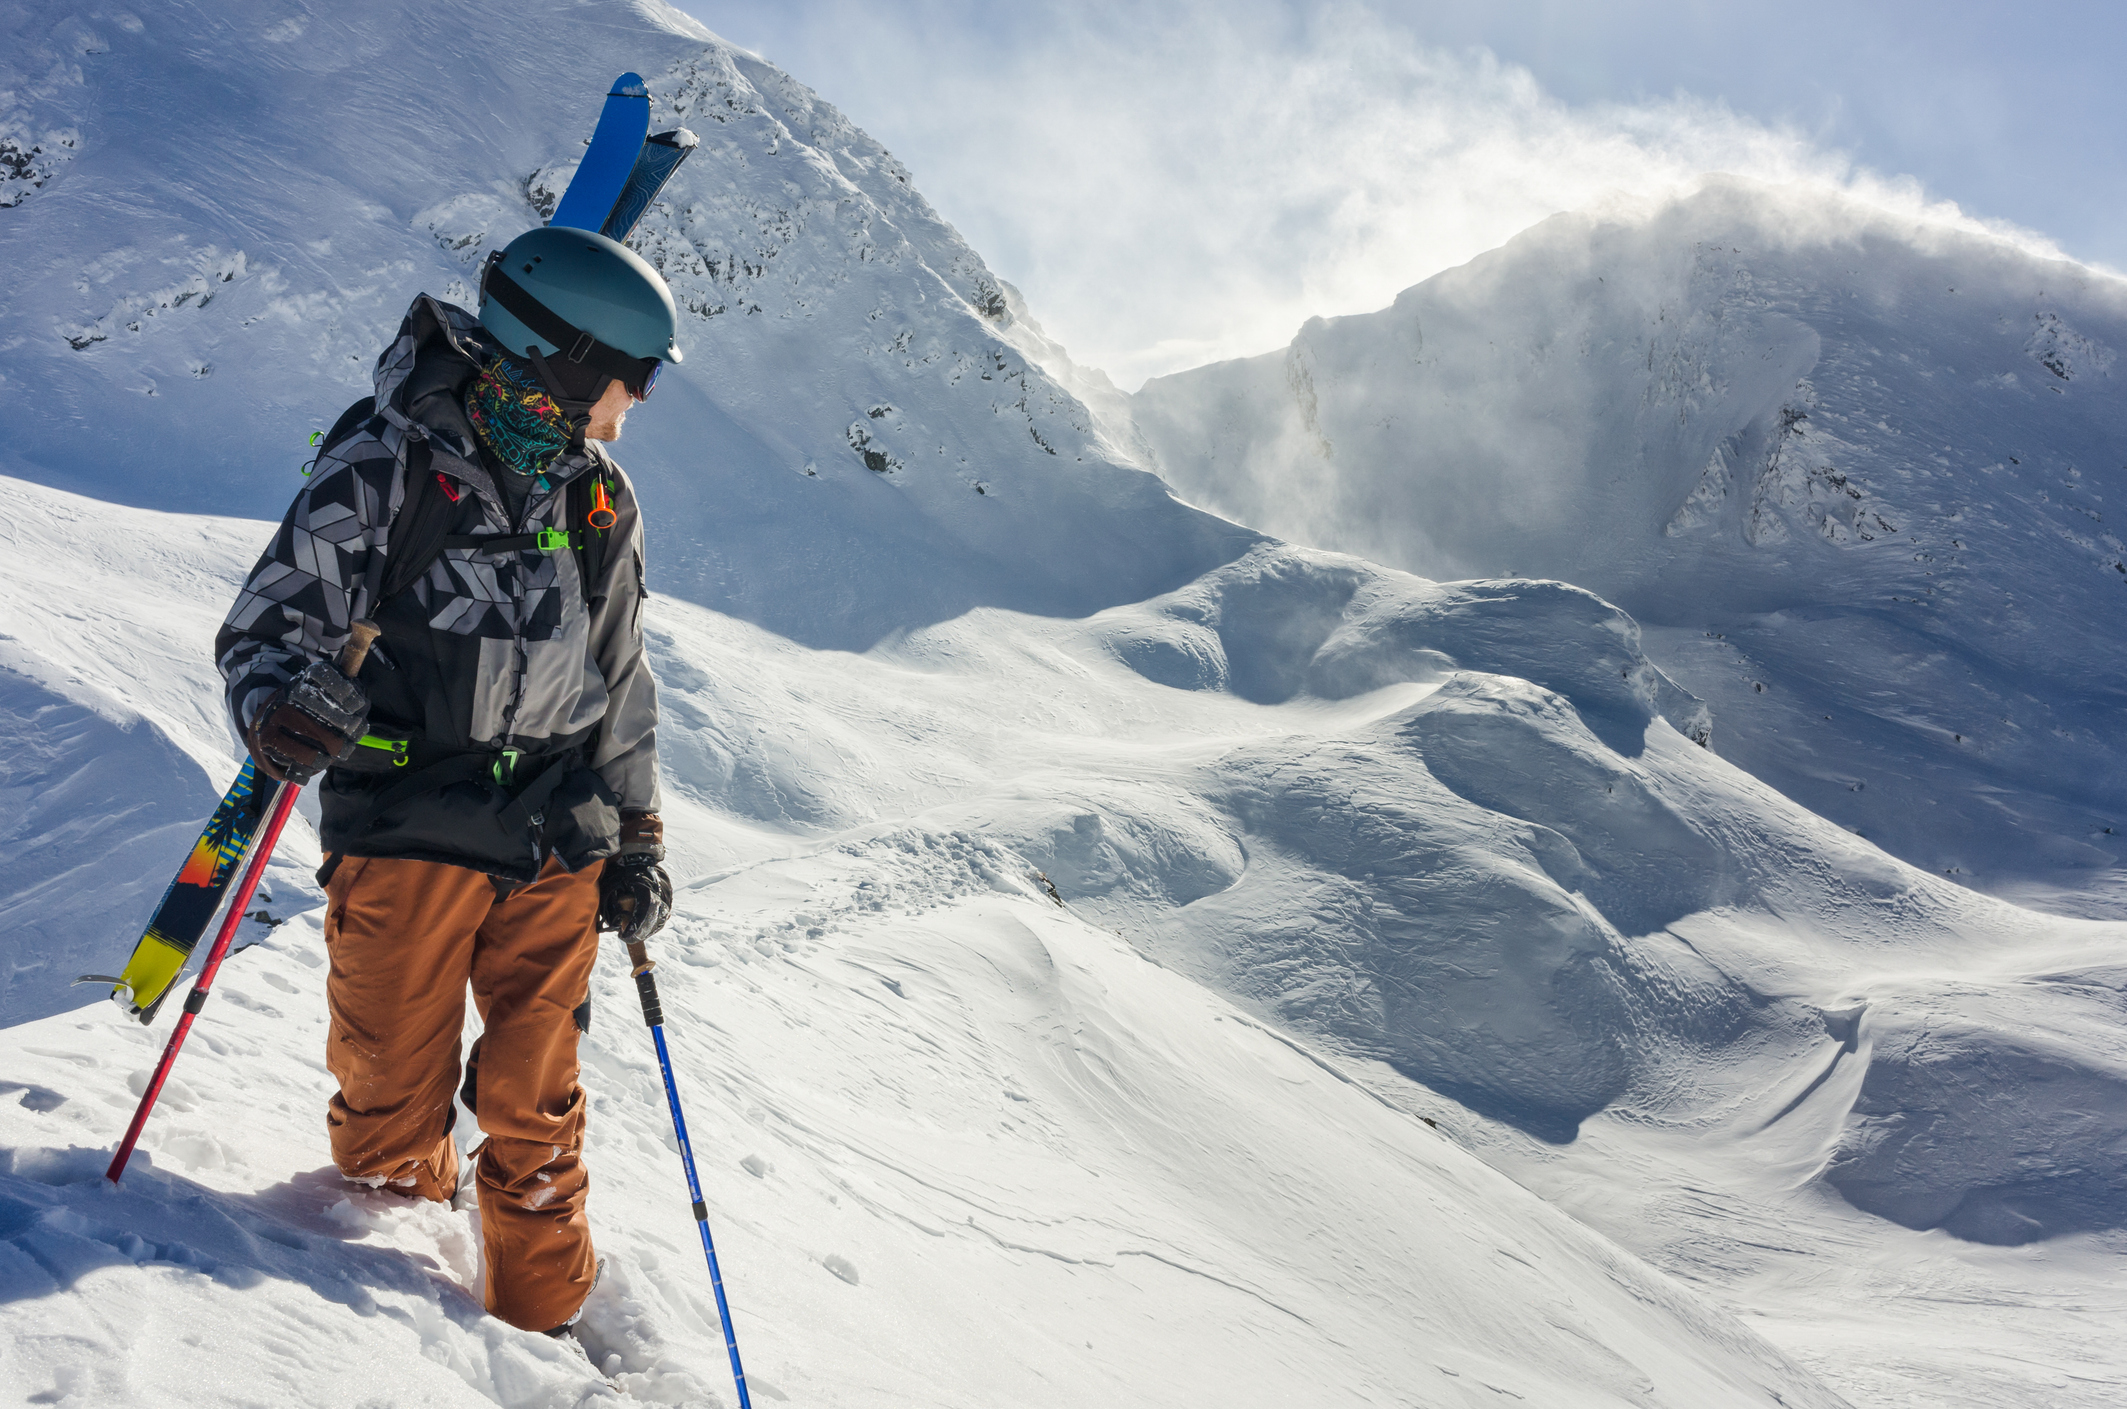
Even if you feel hot from the climb, you’ll cool rapidly once static. Prioritise warmth:

  • Replace any layers you’ve removed
  • Close pit zips
  • Ensure your transceiver sits between your base layer and shell

Cold hands lead to challenging transitions, so wearing contact gloves until you’re ready to put your riding gloves on makes sense. 

7. Detach Skis

Assuming your planks are attached to your pack, remove them and store them securely in the snow. Ideally you’ll be able to place them securely vertically in the snow whilst you take care of the other matters. It maybe that the only practical option is to lay them in the snow. Do whatever you can to make them as secure as possible, not solely relying on the ski brake to stop them careering away from you.

8. Switch to Downhill Mode

Now complete the swap:

  • Bindings to downhill mode
  • Boots to ski mode
  • Hat off, helmet on
  • Contact gloves to riding gloves
  • Zip pack, check all kit is stowed
  • Shoulder pack, then grab poles
  • Adjust telescopic poles from tour to ride length
  • Airbag armed / safety off

This is a good moment for a quick self-check before committing.

9. Click In (Take Your Time)

Often the trickiest part.

Limited space, deep snow, and awkward angles don’t make clicking in easy. Position your planks as securely as possible, take your time, and click into your downhill ski first.

10. Check and Drop

Before you go:

  • Check in with your crew
  • Reconfirm hazards and conditions
  • Agree drop order and islands of safety

Then commit — if conditions dictate then one rider at a time.

Location options for transition may be limited, and you may be forced to accept more risk than you did during your transition before the ascent.

Key Transition Gear

  • Contact gloves
  • Backpack with ski carry
  • Additional layers
  • Riding gloves
  • Ski poles
  • Ski boots
  • Avi pack

Keeping this kit easy to access will make every transition faster, warmer, and far less stressful.

It may seem obvious but you’re going to be at your most vulnerable during the transition so make sure you pick a good spot that is away from any avalanche danger, offers some protection from the elements and (space allowing) where it’s safe to move around.

Additional Transition Tips

  • Placing your poles upside down in the snow above you is ideal and can be used as an anchor for your backpack.
  • Sliding planks tail-first back into the snow often works well to stop them moving. If this is done with the tips slightly raised it’ll help when clicking back in. 
  • Before you drop, t’s always worth double checking the hike/ride mode on your boots is correctly set and you have shortened your ski poles to ride length. Finding out you forgot to do this could seriously affect your stoke.

Other transitions can be found in our Transitions Hub.

We’ll see you up there.

Subscribe
Notify of
0 Comments
Oldest
Newest Most Voted
Inline Feedbacks
View all comments

Discover our content

Explore the themes below to find the best home for the content you want to learn about:

Dream
Get into the good stuff. The place to motivate and inspire your next FreeRide adventure
>
Learn
Never stop learning. A free knowledge base for your FreeRide improvement
>
Ride
We'll see you up there. Meet other riders and get more stoke with our FreeRide Intel
>
Share
Share with us. Become a contributor, share your FreeRide passion and wisdom

Whats Up?

Sorry...You’ll need to Sign In or Sign Up to get in contact.