Transitions are one of the most overlooked skills in split-boarding and ski touring. This step-by-step guide covers the ski touring transition from riding your downhill setup to being ready for bootpacking. Efficient transitions reduce risk, keep your crew moving, and stop you haemorrhaging heat while you’re static in exposed terrain.
If you don’t plan ahead there’s a real possibility you’ll end up with kit all over the snow just as the visibility closes. Even before you leave home, think about the order in which you’re going to need your gear and pack accordingly. Better yet, do a couple of trial packs somewhere cosy and warm. It’ll make for smoother, less stressful transitions on the mountain.
Have a process and stick to it. A little OCD during transitions is no bad thing. It’s incredibly easy to lose kit in the snow, so be deliberate about where everything goes.
Keep an eye on your crew and aim to move through the transition at roughly the same pace. You don’t want everyone standing around getting cold while you’re deep in personal admin.
It may seem obvious but you’re going to be at your most vulnerable during the transition so make sure you pick a good spot that is away from any avalanche danger, offers some protection from the elements and where it’s safe to move around.
Once you stop, swap your bulky riding gloves for contact gloves. You’ll need dexterity, and bare hands will get cold fast. Secure your riding gloves immediately — losing them can end your day.
You’ll be static for a while, so now is not the time to start stripping layers in anticipation of a sweaty climb.
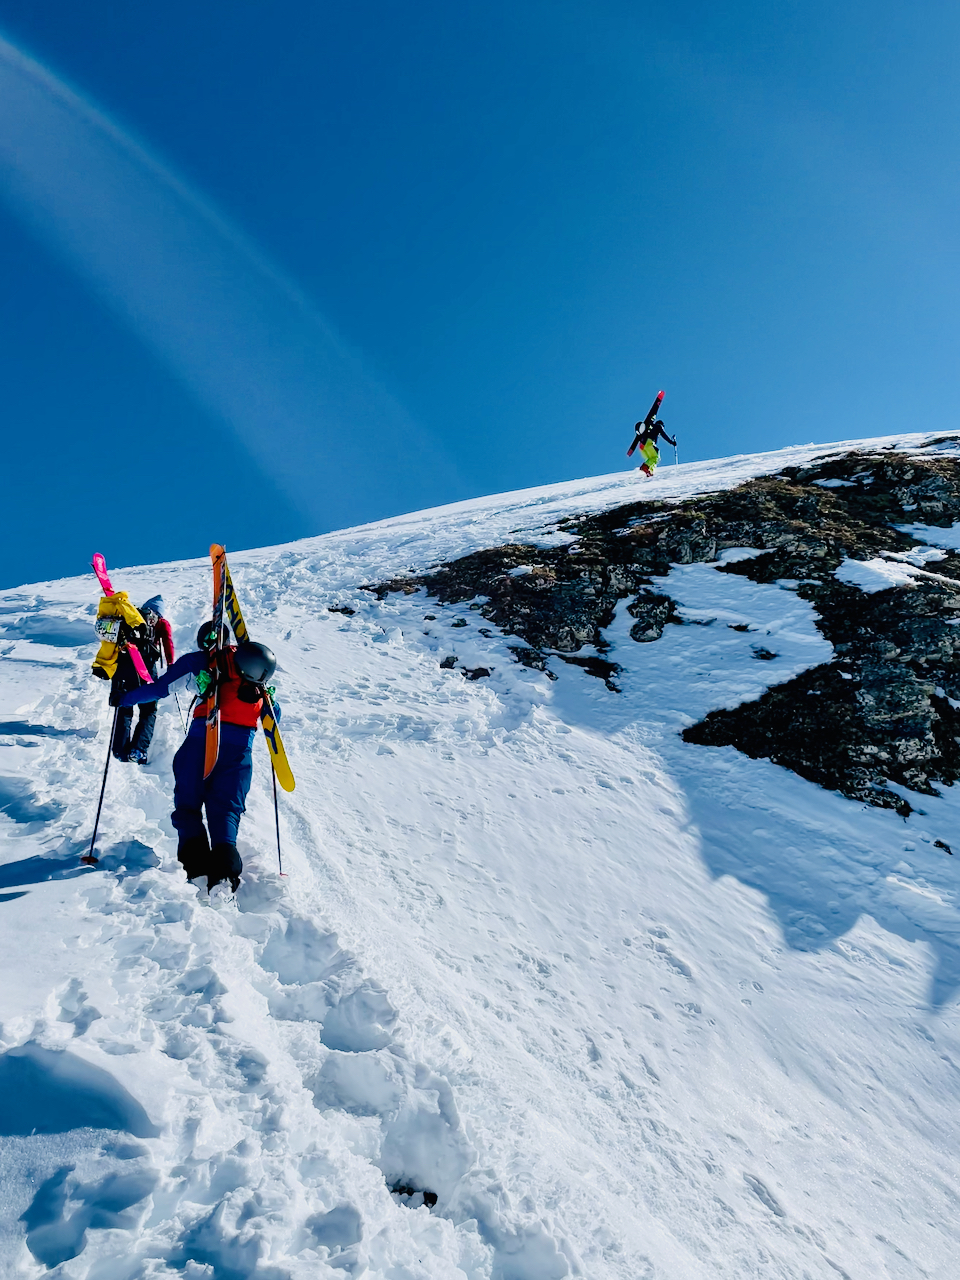
Secure your poles handle-first in the snow. Remove your planks and secure them beside the poles — don’t rely on brakes alone. Dig a small pit, place your pack back-panel-down into the snow, and keep the opening facing you so it can’t roll away.
Once your planks are off, secure them to your pack. The method will depend on your pack’s carry system and the length of the bootpack. Make sure everything is tight and balanced before moving on.
Switch your boots into walk mode, loosen buckles and any liner laces.
If you’re using telescopic poles, extend them 10–15 cm from your usual ride length.
Unless there’s a risk of rockfall or overhead hazard, you’re unlikely to wear your helmet while bootpacking. Secure it to your pack so it won’t swing around and drive you mad once you start moving.
Now is also a good time to put on some sunscreen, a warm, but not too warm hat, and some sunnies to protect you from the cold and the UVs. You may also want to have a quick, energy boosting snack. Be warned, this is typically the moment when your personal administration can get away from you, resulting in multiple unsecured items on the snow.
You might feel chilly at this point, but you’ll be moving again soon and likely generating heat fast. Rather than stripping your shell, remove the insulating layer beneath. It’s more effort now, but far more effective once you’re climbing.Be sure to safely stow that midlayer.
It’s worthwhile checking synchronisation again at this point with your crew to ensure you’re not stationary for too long with reduced insulation.
Before putting your pack back on, do a final sweep to make sure everything is stashed. If you have them, open your pit zips — it’s often impossible once your pack is on.
Time to put on your pack and adjust any straps to ensure a snug fit and that as much weight as possible is sitting on your hips.
Finally take control of your poles, take a breath and ready yourself for the climb ahead.
Keeping this kit easy to access will make every transition faster, warmer, and far less stressful.

Other transitions can be found in our Transitions Hub.
We’ll see you up there.
Explore the themes below to find the best home for the content you want to learn about: